Pages

Wednesday, February 25, 2015

INSPIRING CARDS FOR MOXXIE


Hello and thanks for stopping by!  I have some really awesome cards to share, that I made using Moxxie Paper.  This paper line is called "Tiny Dancer", but don't let the name fool you!  The awesome thing about Moxxie paper is it's versatility!

The colors and patterns in this collection just call my name!  Pink is my favorite color!!

Do you see the beautiful backgrounds these papers have?  The pink design on the right is gorgeous!  And the grey stripe with white swirls on the left is amazing!  I added Tim Holtz and Unity Stamps, Inks and Washi tapes to the cards.  Some flowers too, of course :)

Cards don't always have to be for a special occasion.  Sometimes it's just nice to give a card to help encourage someone.

Make a card for someone, just to tell them they are doing a good job, and don't forget to use Moxxie paper!!  You will LOVE it!!
xxDaniella


Tuesday, February 24, 2015

UPCYCLED CEREAL BOX BOOK WRAP

I have a super fun Upcycled Cereal Box Book Wrap to share with you today.  I made it for an Art Journal I made.  I will show more of the book later this week.  This Book Wrap was made for Tombow USA and all the directions to this fun and easy D.I.Y. project can be found there.


Easy Upcycled Cereal Box Book Wrap


I hope you are inspired to make your own Upcycled Cereal Box Book Wrap!!

xxDaniella


Tuesday, February 17, 2015

MOXXIE WINERY LINE MIXED MEDIA LAYOUT


Today I'm showing a mixed media layout I made for Moxxie, using their new "Winery" line.
I used 3 Moxxie papers and the cardstock stickers.  Both sides of "Aged To Perfection" were used.  The barrel print is the background and the opposite side had the pretty scrolls I cut out and added to the top right.  I got the purple banner from the  "Winery Cutouts"  paper.  And the cork scrolls came from the "Winery Stickers".

Here is a close up of the top.  You can see I used gesso, modeling paste, stencils. inks and paints.  I also added tissue tape, ephemera and resin frames.

On the bottom left I added the same mediums, paints, stencils and inks  I also added a resin button and some green string to balance out the green scroll from the top.

Thanks for visiting!  Please check out all the Moxxie has to offer!!
xxDaniella

Wednesday, February 11, 2015

2 HEARTS OF A DIFFERENT COLOR


Hello!  I am so excited to share these 2 cards I made using Susan K. Weckesser's "A Little Grunge Love" stamps.  They are both in the current issue of "The Stampers' Sampler"!  How exciting is that??
I love these hearts!!  They are total grungey goodness! 


Have you started your Valentine's Day Cards?  Maybe you should try making hearts of a different color too??

Thanks for visiting!
xxDaniella

Tuesday, February 10, 2015

ART JOURNAL PAGE FOR SINCITY STAMPS


Hello!  I am sharing an art journal page today that I made for SinCity Stamps.  I follow along with Terri Sproul's Facebook group "All Things Terri Sproul", where she shares art journaling and mixed media art techniques.  Her first prompt in her new journal was her word for the year.  I too have a new journal and a word for the year so I decided to play along!  My word is SIMPLIFY.
Supplies:

I started by painting my background bronze and letting it dry.  I also got my other 3 paints ready for the next step.

Next I painted my circles. 


Then I outlined them with black marker.  I wasn't sure I liked how this was turning out at this point.


But when I added the stamps I LOVED it!!  A few little tiny dots of black and white filled it in perfect, I think!

Thanks so much for visiting!  I hope you check out SinCity Stamps and Terri's show!

What's YOUR word for the year?
xxDaniella


Monday, February 9, 2015

A BOX IN A CARD

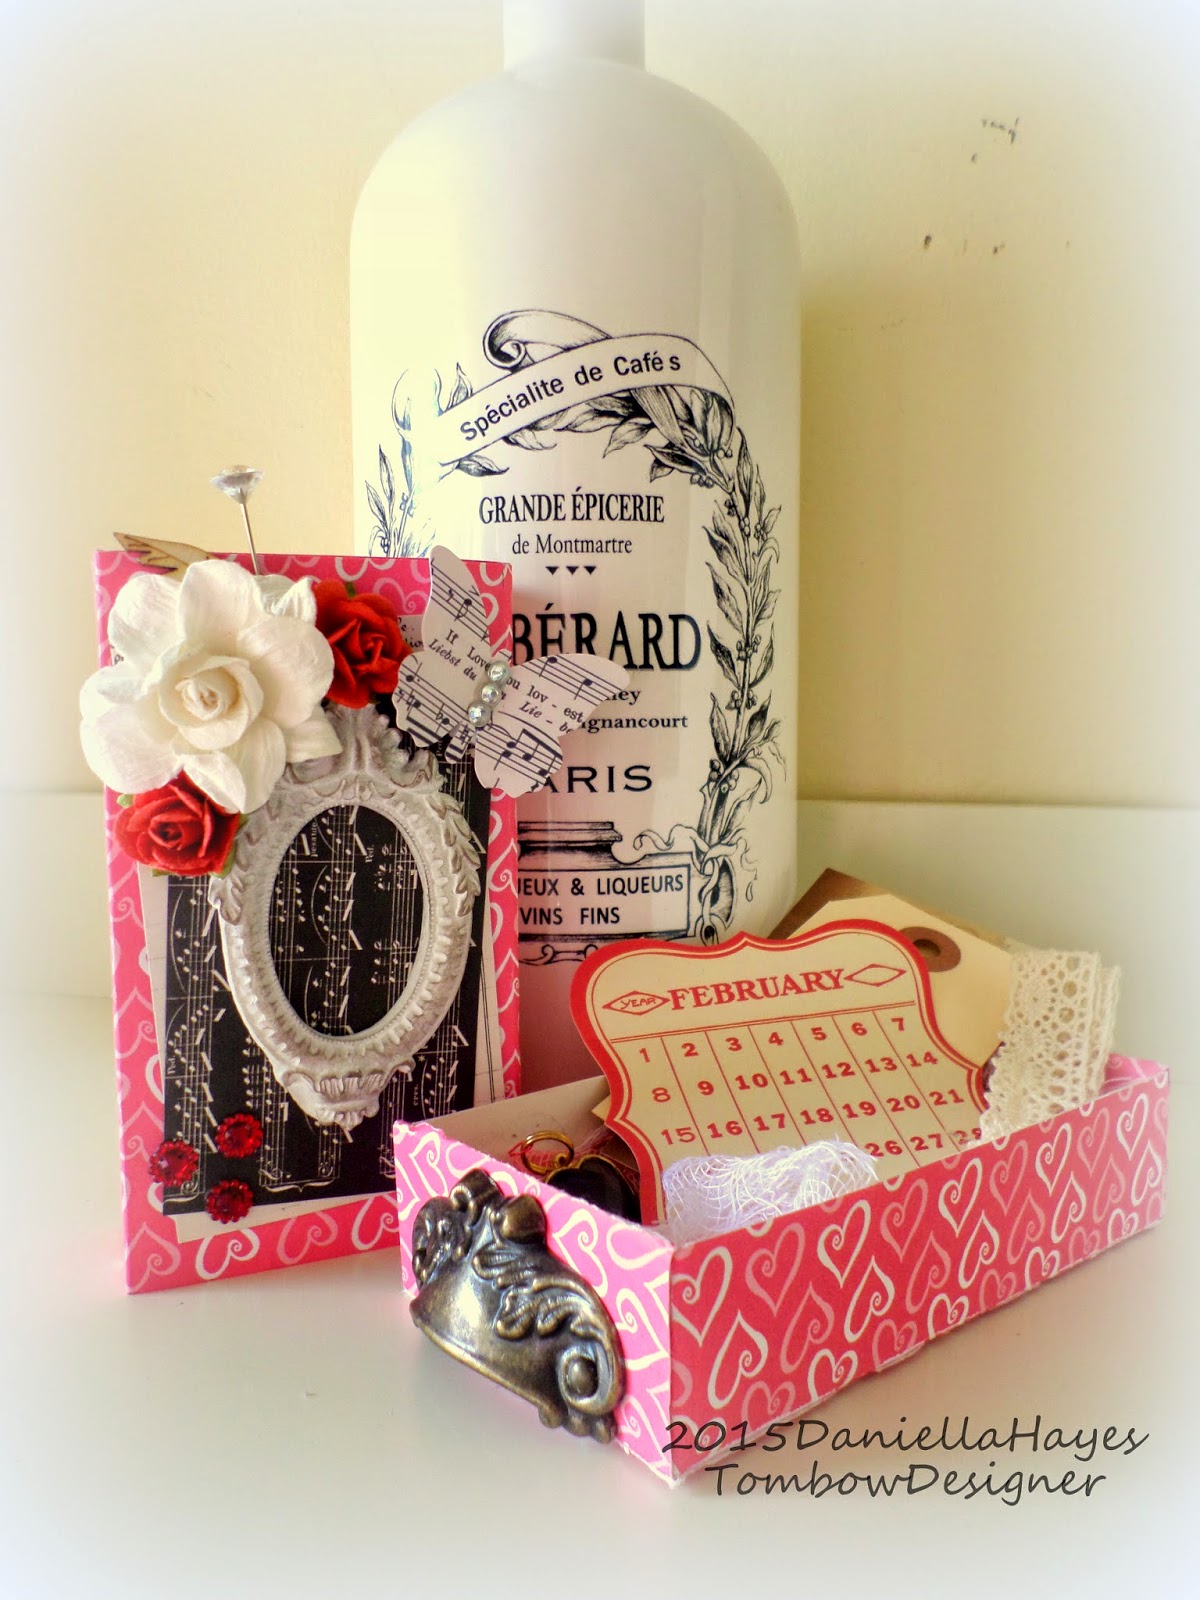
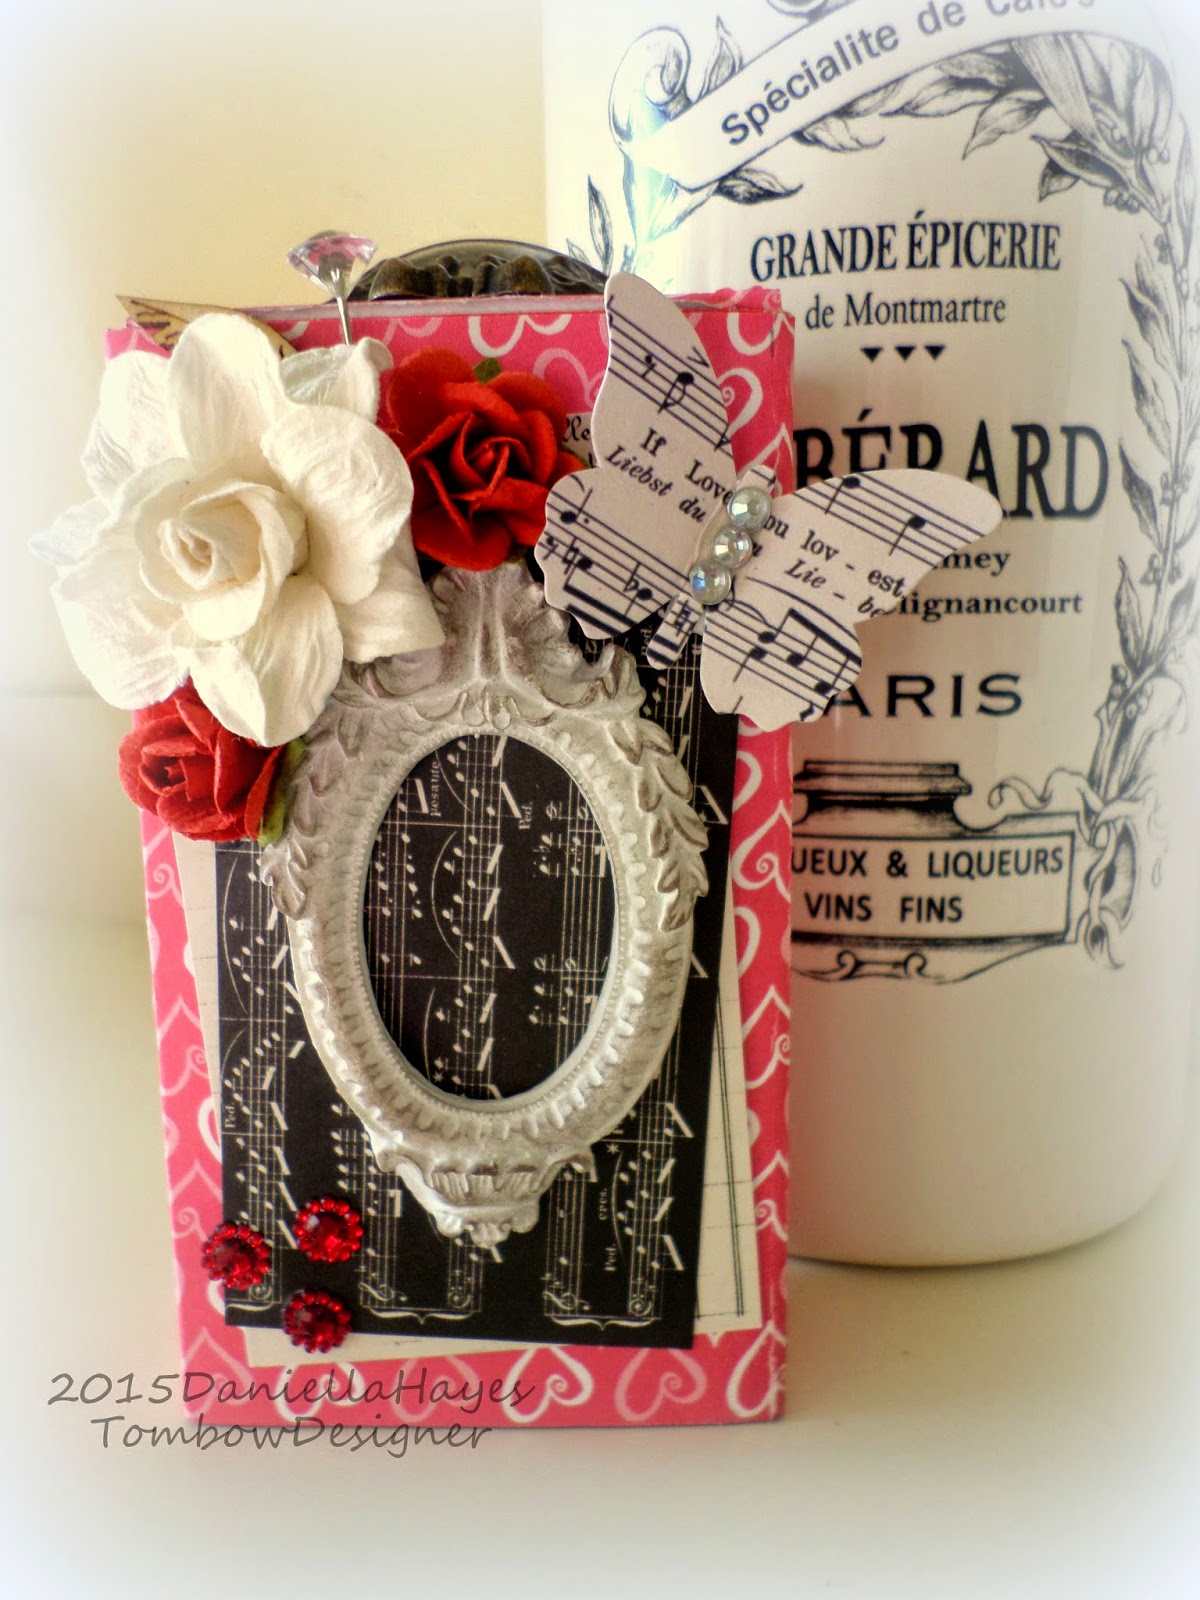
Hello!  Today I am sharing a really fun "Box in a Card" that I made for Tombow.  It is super easy to make and will be a fun surprise for your Valentine!
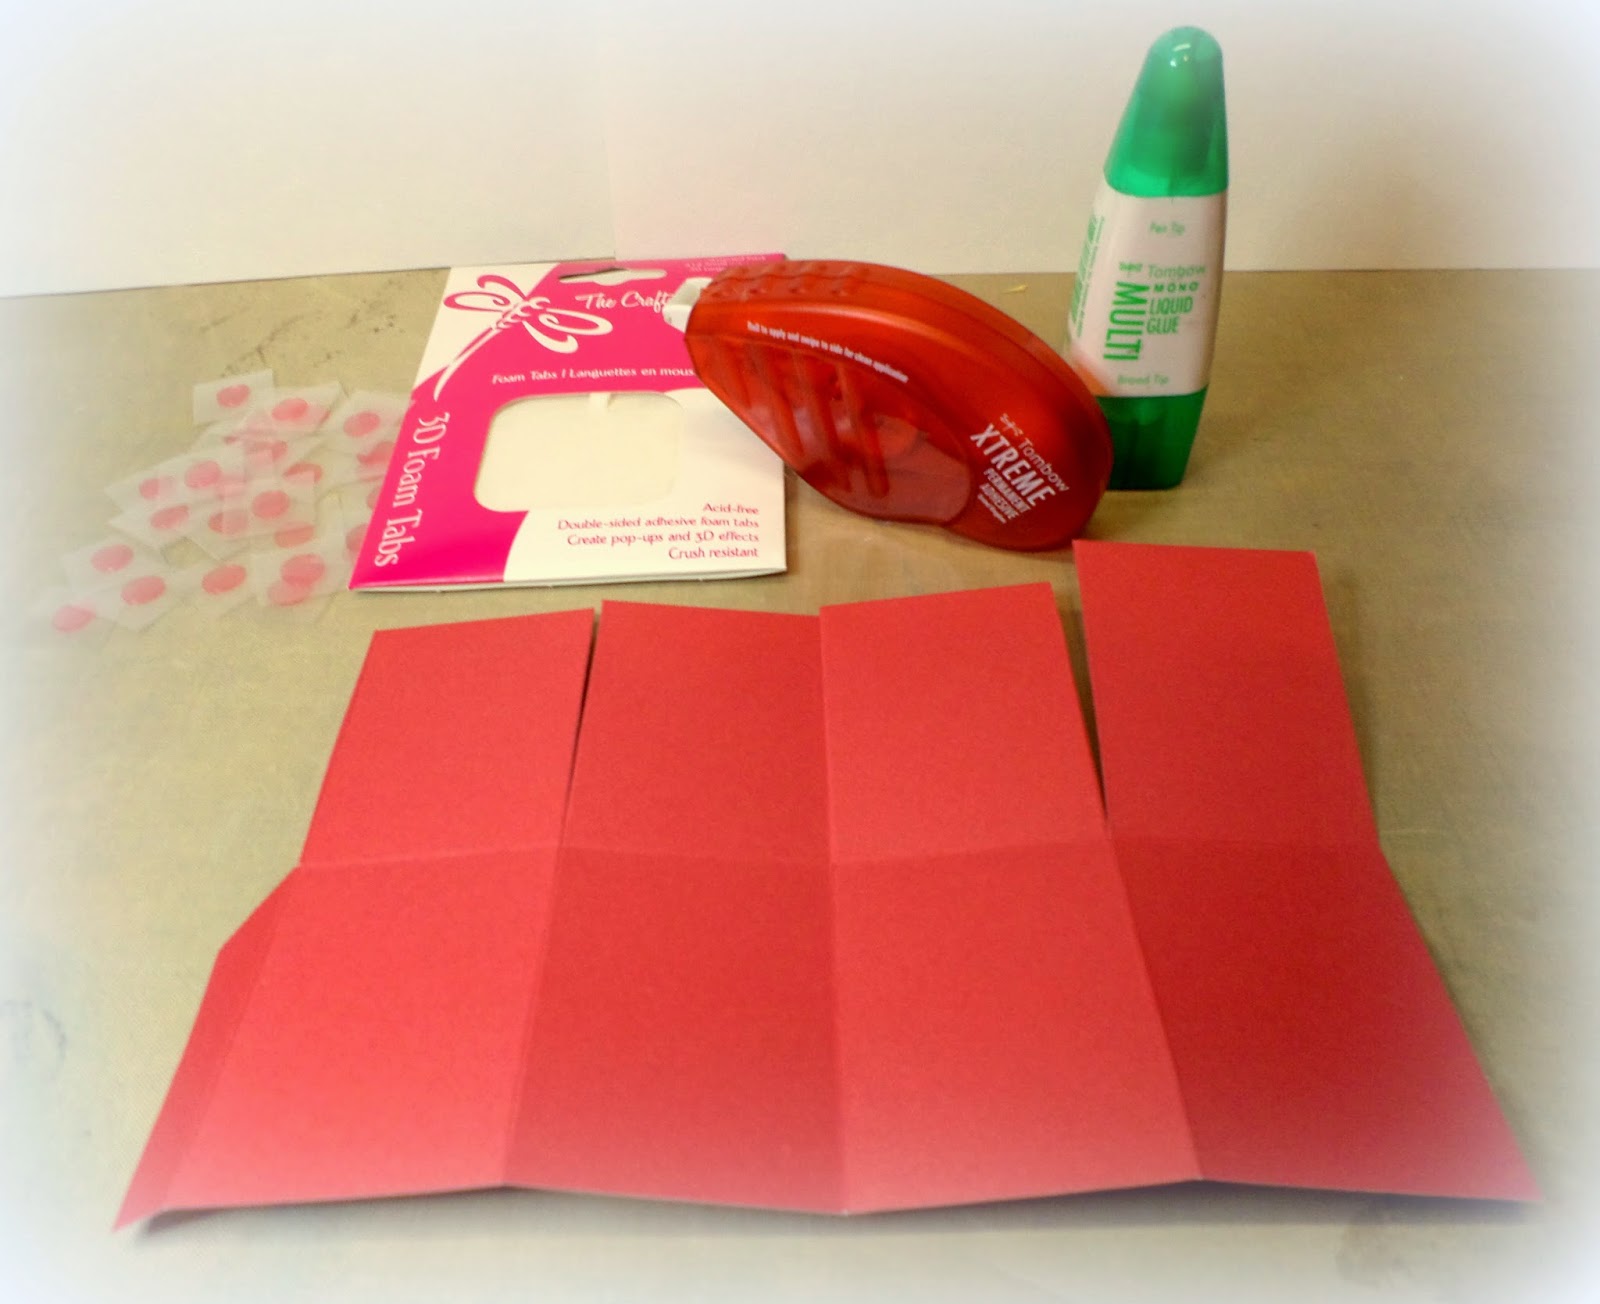
Supplies:


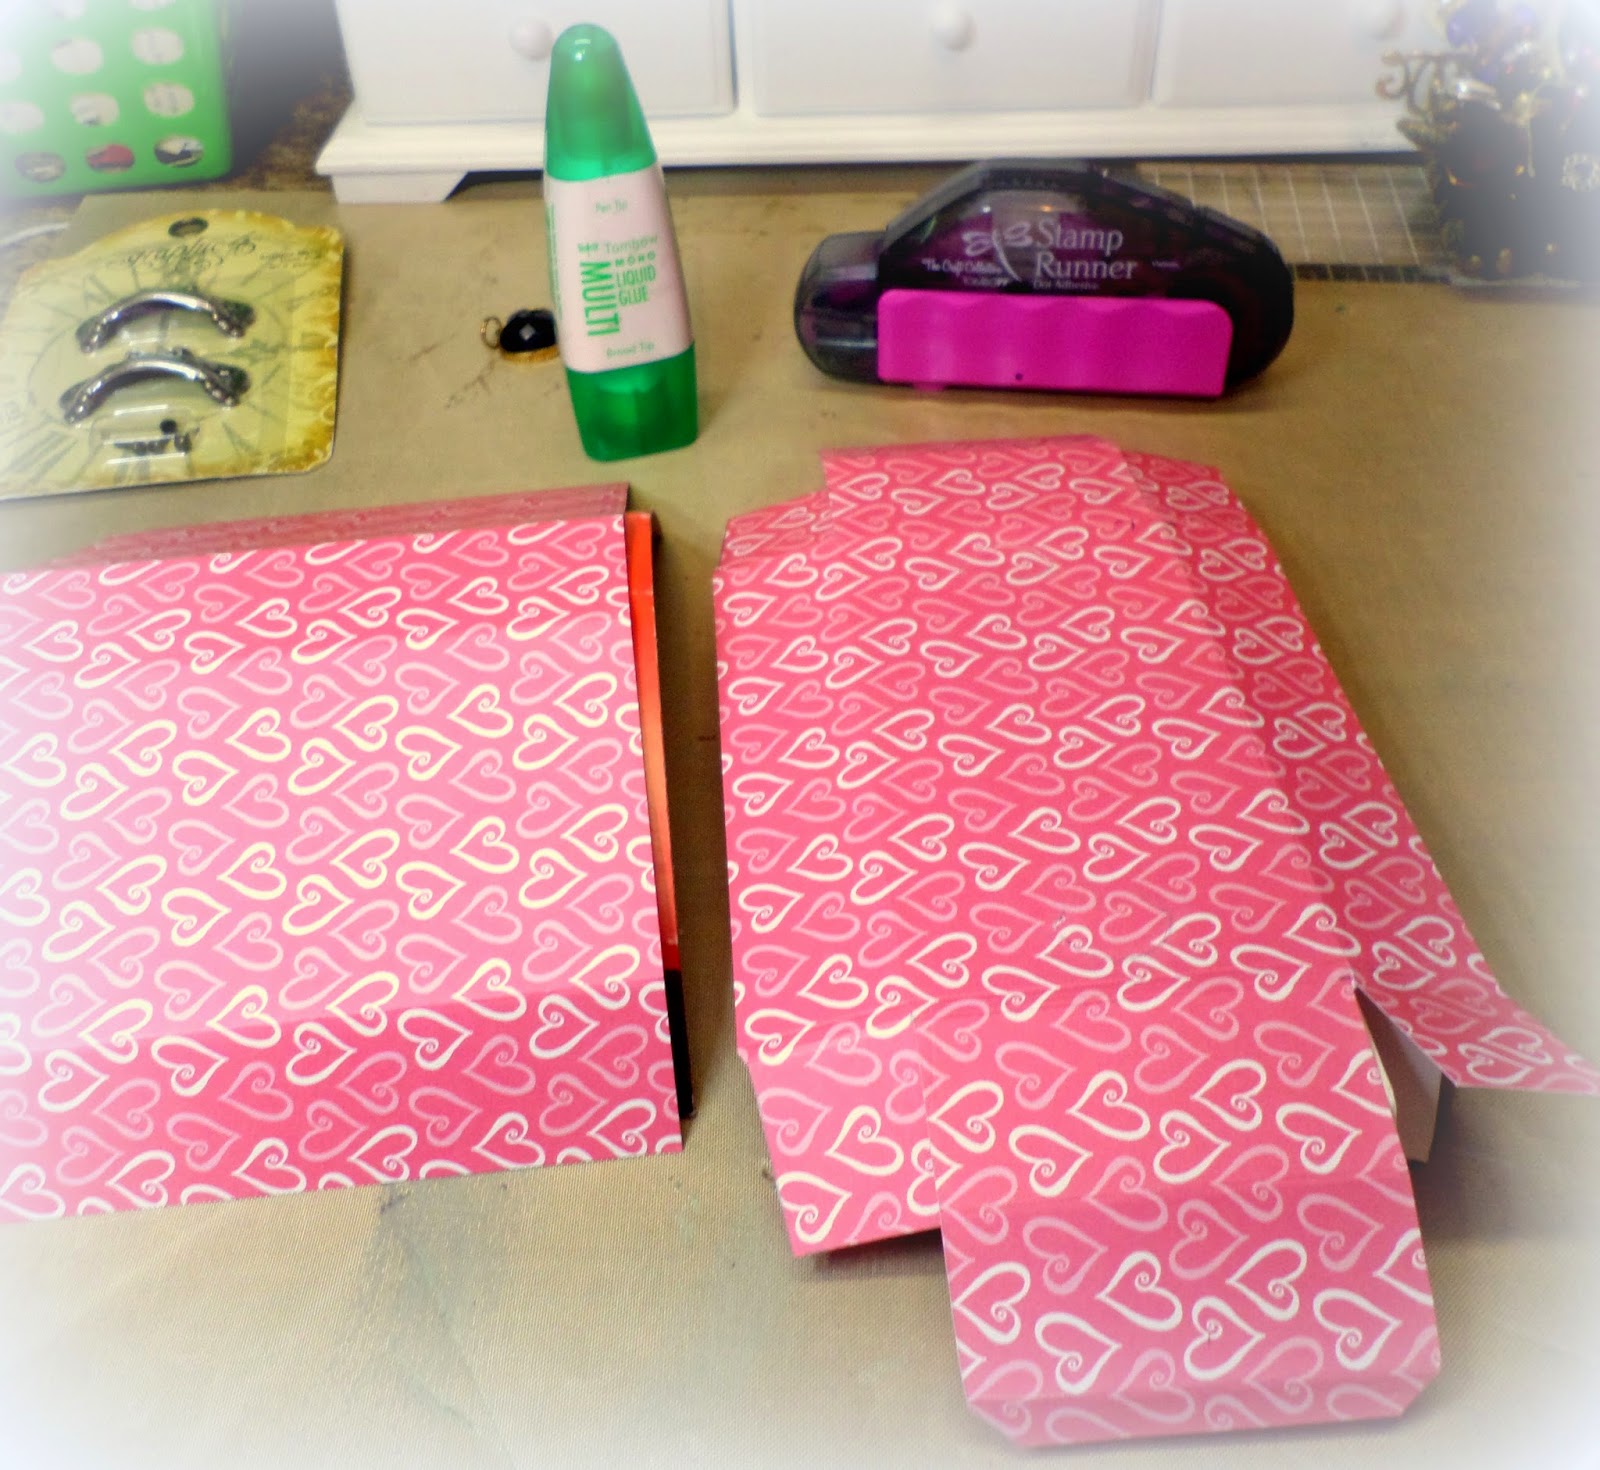
To make your Box Card, start with a piece of 8.5"x5.5" Cardstock.  Score it at 2", 4", 6" and 8".  Turn 90 degrees and score in half.  Cut the lines to the middle on one half of the paper.  Cut the half inch piece off of the side you cut only!  You need the other half inch for a tab.  Just like in the picture above.

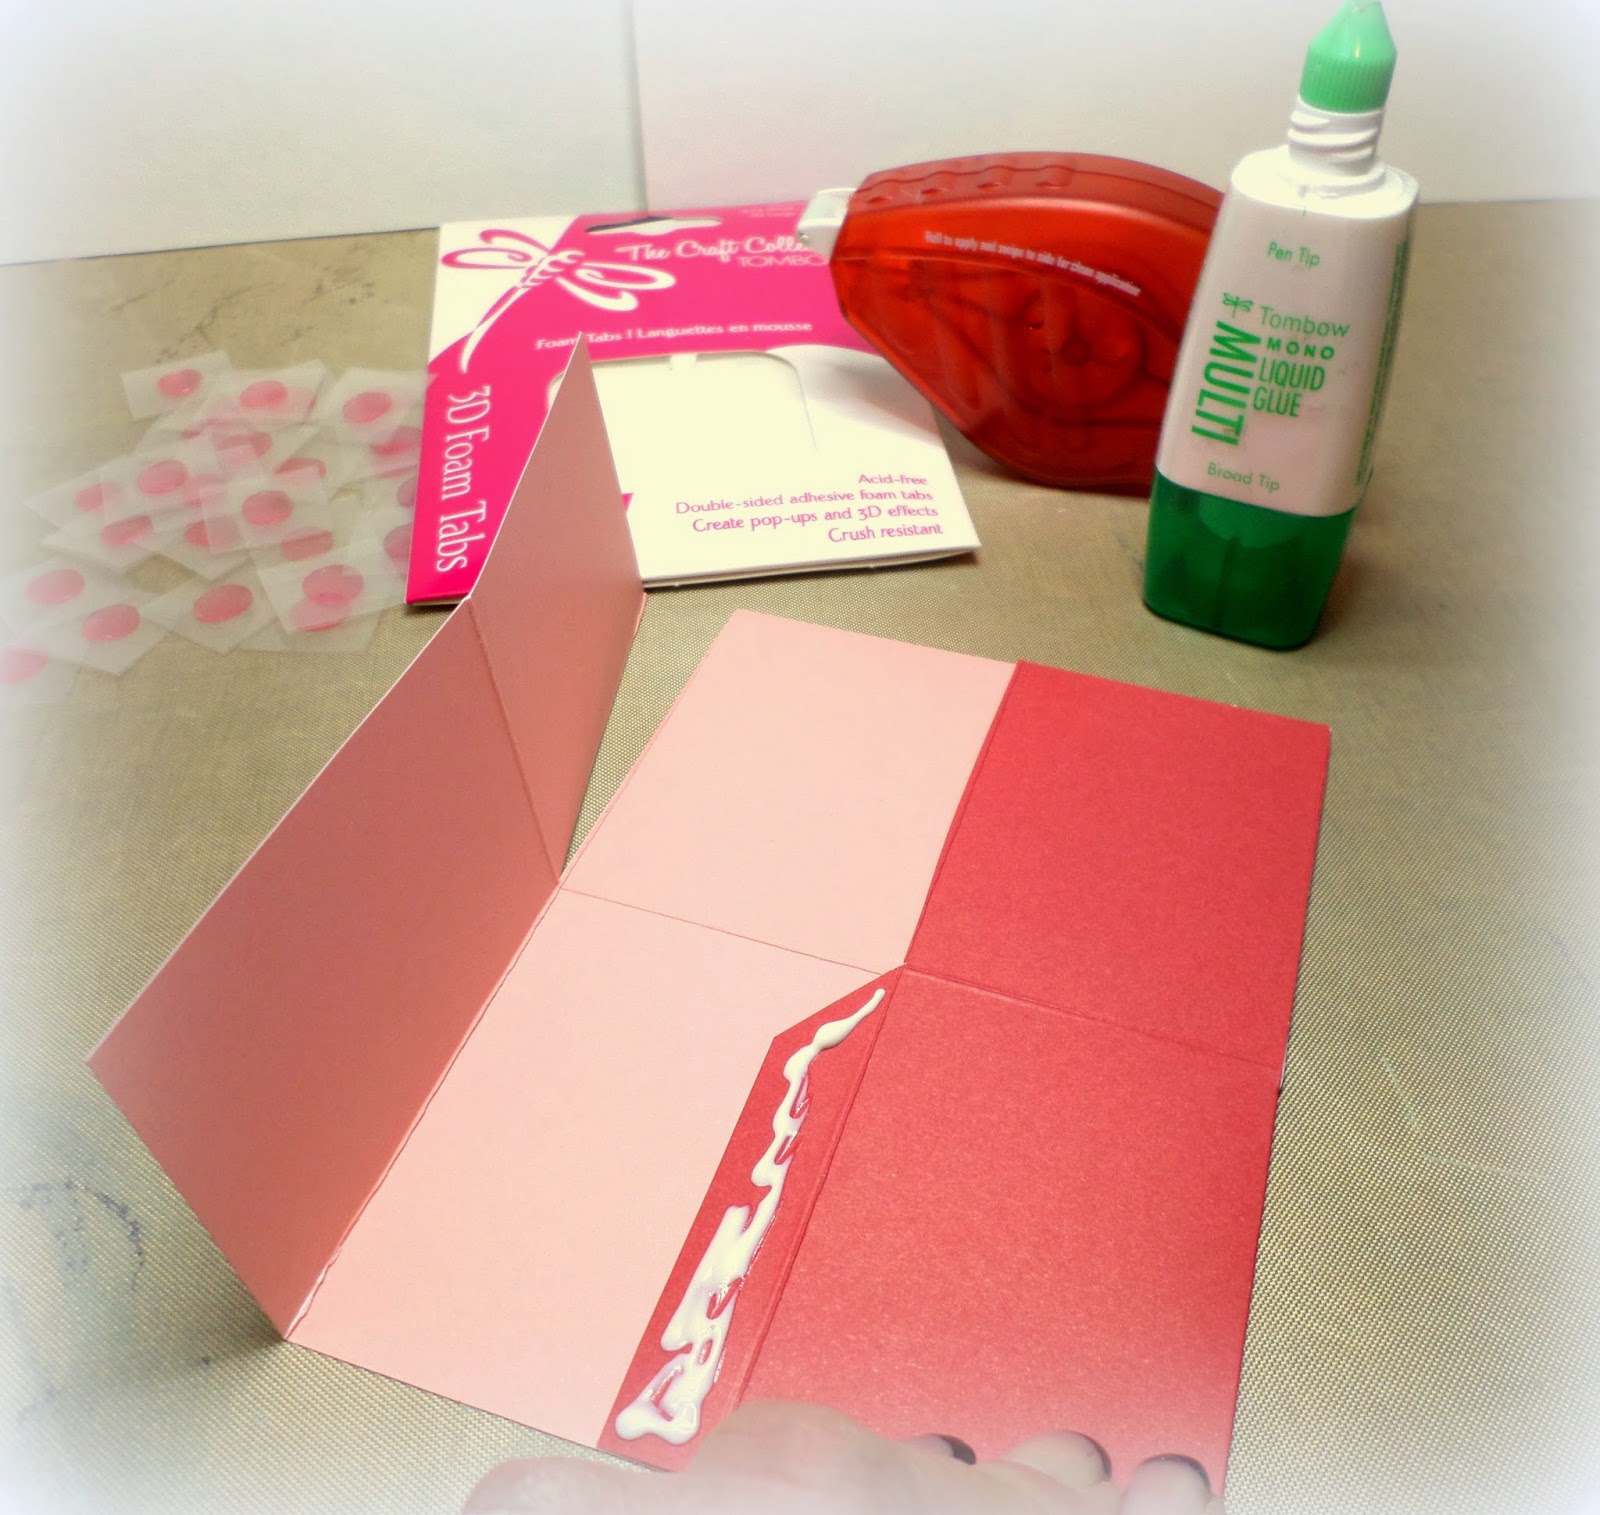
Use the Mono Multi Glue on the tab and fold the card to the center.  Take the other side and fold to the center so you glue your "box" together.  Using Mono Multi liquid glue lets you move the box if you have to, to get it even, but it dries fast too.  Then cut a 3"x3" piece from the cardstock and cut it in half.  Fold a half inch flap on each side.  Fold these papers so they look like a "Z".  Add Mono Multi to the flaps and attach them inside the box part of the card (you can see them in the first picture).  You will attach the acetate to them later.

Cut your patterned paper.  Cut a large piece for the back of the card ~ 5.25" x 2".  Cut 3 more pieces 2" x 2.5".  Adhere all 4 pieces to the card back and top flaps with Xtreme adhesive.  This adhesive is 5x stronger than standard tape runners!

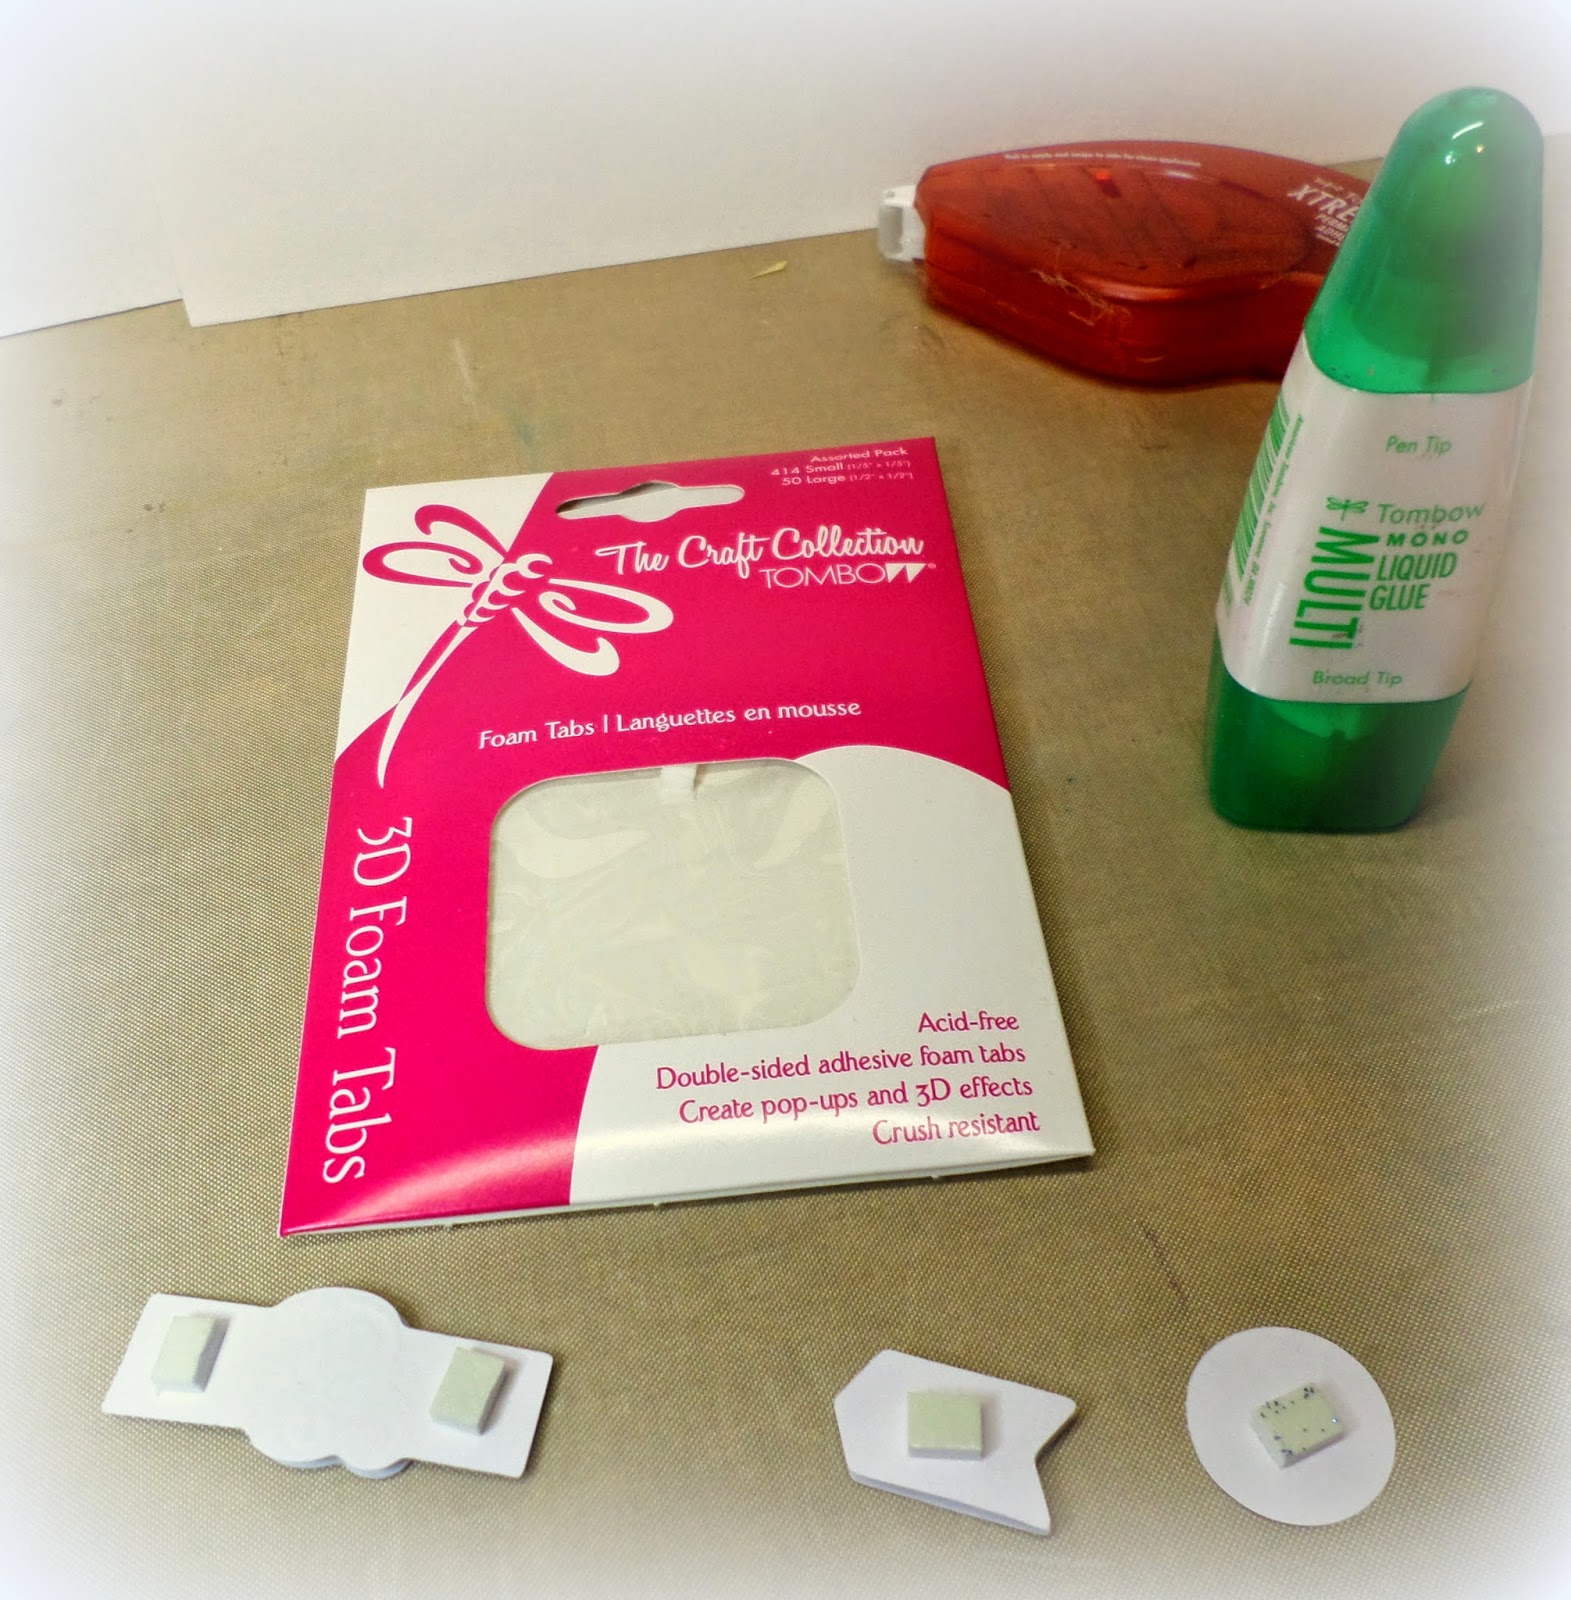
Next, use the 3D Foam Tabs to attach some fun Valentine embellishments to the 3 flaps.

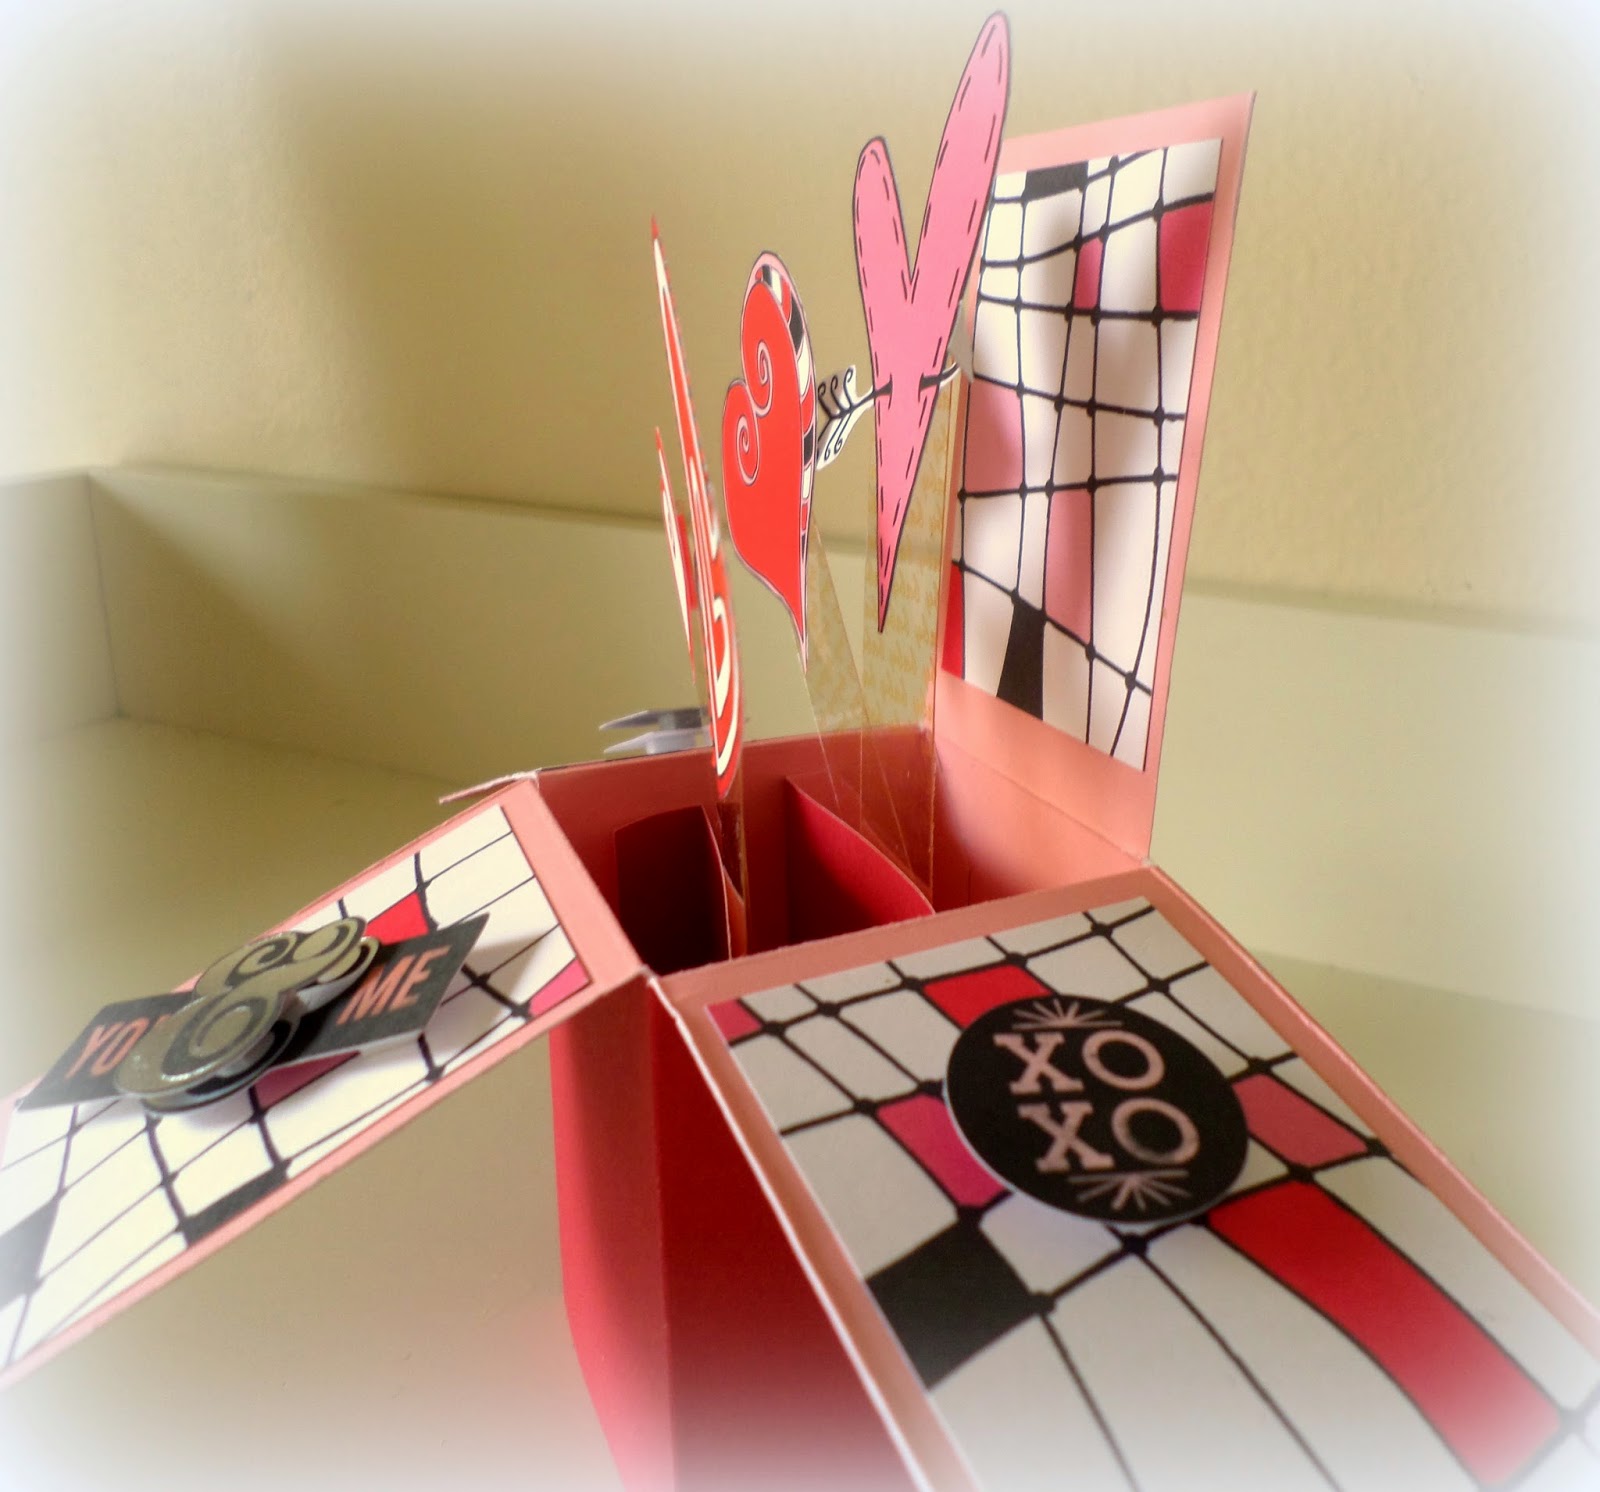
I used the rub-ons on white cardstock and cut them out.  I cut some acetate 2 1/4" x 1/2" and attached the cut out cardstock to them with the new, super awesome, adhesive dots.  Then, add an adhesive dot to the bottom of the acetate and adhere them inside the box.  The big ones in the back, smaller ones in front.

Here is a view from the side.  You can see inside the box and the acetate sticking to the inside paper.
The view from the other side.  I think this is sooooo cute!!

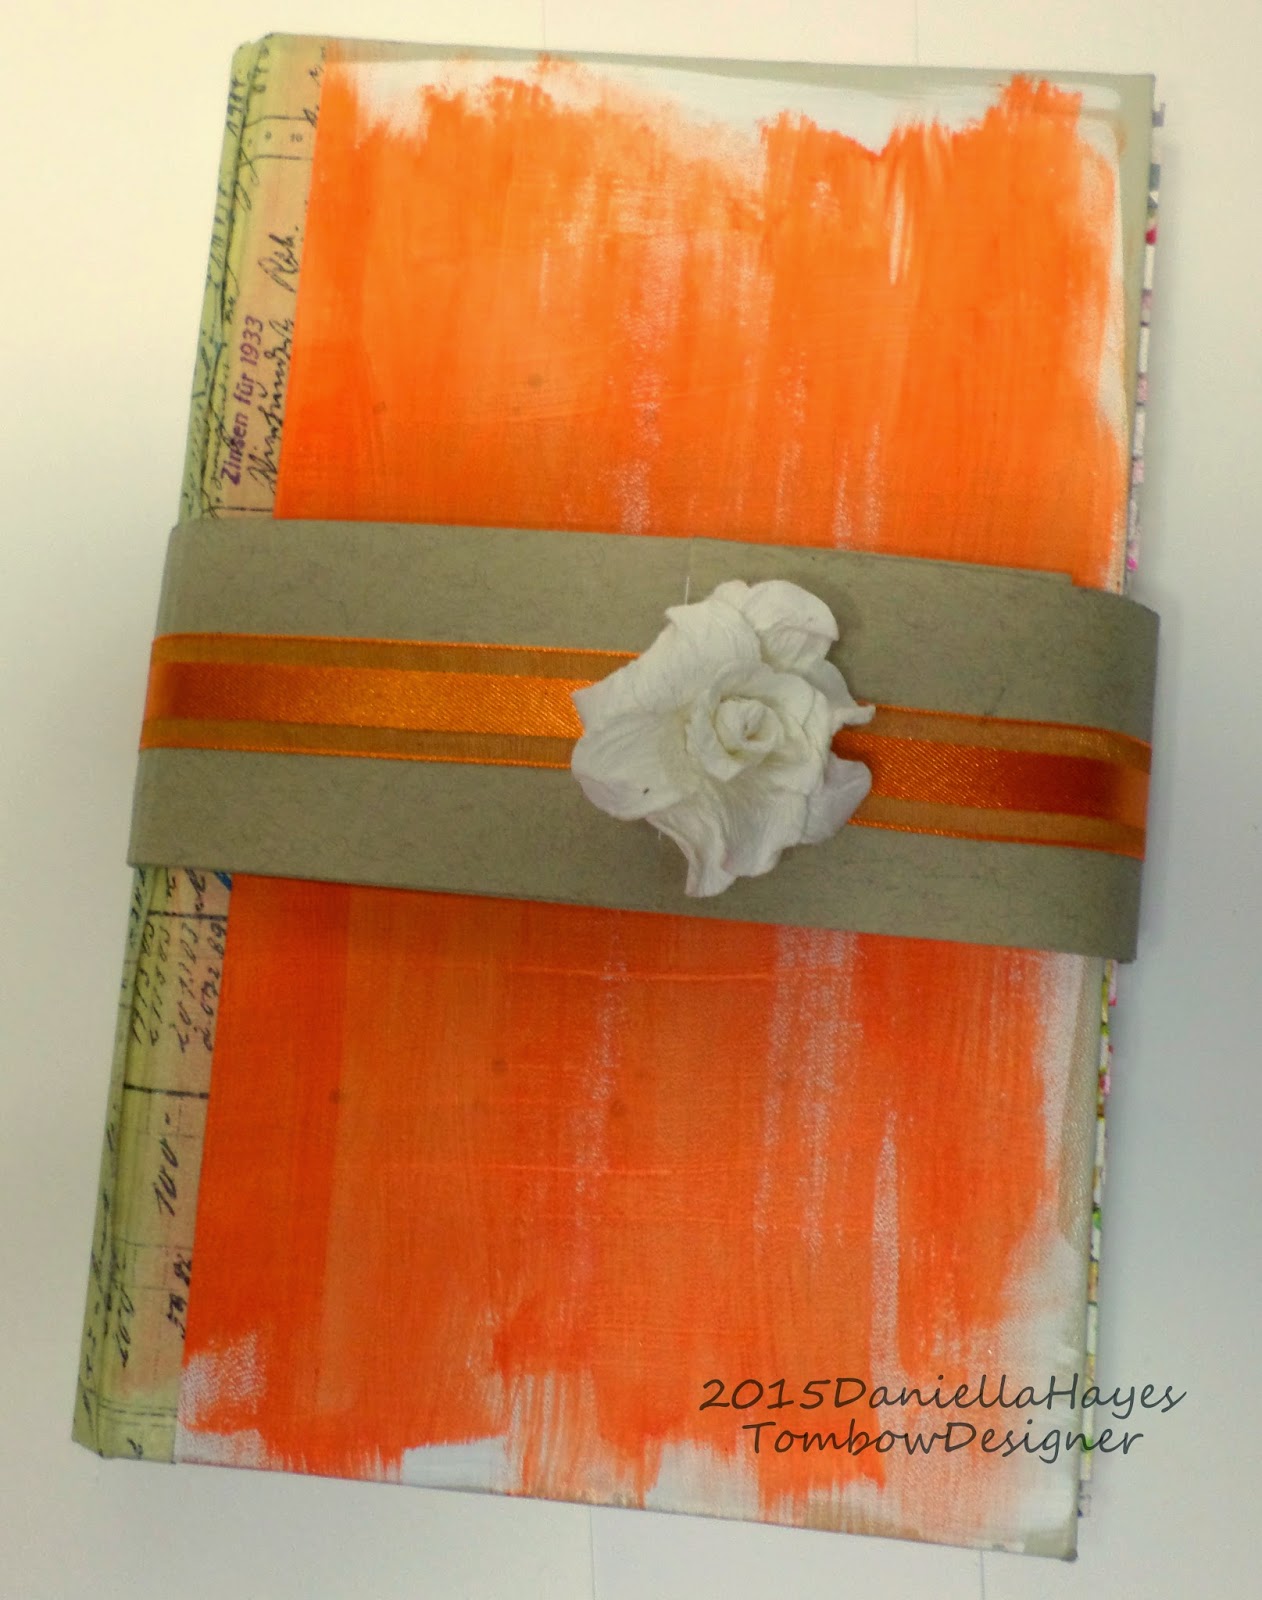
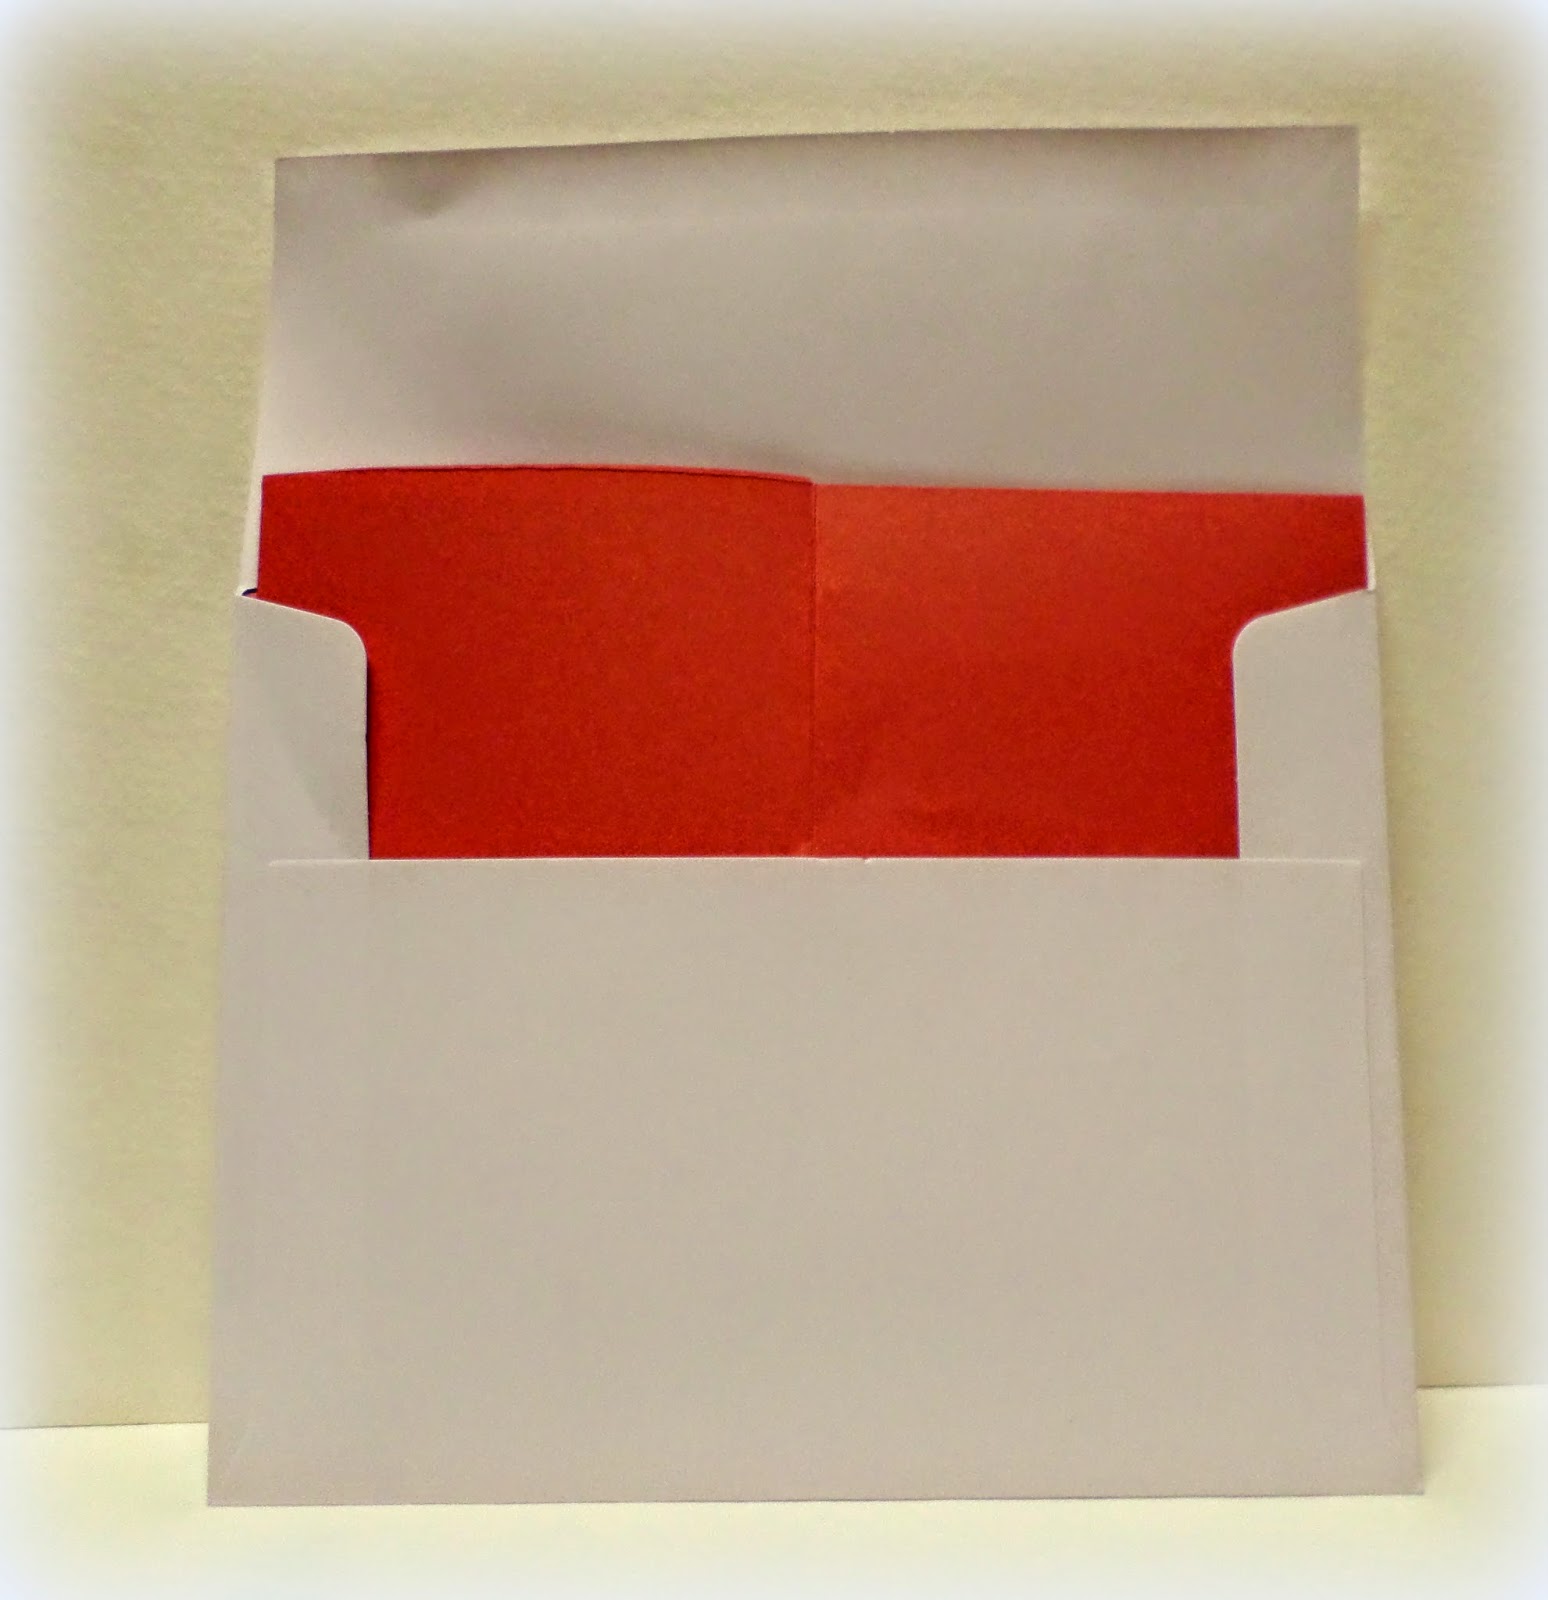
Here you can see that when you fold the card in half, it fits inside a standard A2 envelope.  And when someone opens it, it's a PARTY!!  

And don't forget about our Challenge!  You can read all about it HERE.

You could win this prize pack!!  Sweet!!


xxDaniella


Friday, February 6, 2015

MOXXIE LOVE THEME BLOG HOP

Hello and welcome to the Moxxie "Love" blog hop.  All the Muses have made some awesome projects!!  You are sure to be inspired!!

I made a silly sort of non-Valentine's Day card!  Just for fun!  I have been married for 23 years to my high school sweetheart so I don't have anything against Valentine's Day!  I just thought it would be fun to look at it from the other side.  Not everyone has a sweetheart.
I love the skeleton with heart shaped eye sockets!!  

I used the new Moxxie Queen of the Crop line.  It is so cute!  Tons of fun patterns and colors. It also has wonderful graphics, cut-outs and stickers.

So go on and hop through all the Muses blogs!  There is a challenge and a PRIZE!!!


Samantha Taylor

 To be eligible to WIN 
(Of course there's a PRIZE!)
 all you have to do is comment on the Moxxie blog.
(US addresses only please) 
Extra chances to win include:
  Comment- on any (or all) of the designers blogs
  Facebook- share the blog hop post or one of the challenge posts (let us know by leaving a link on the Moxxie blog)
  Pinterest- pin any (or all) of these wonderful projects (leave a link for each pin on the Moxxie blog)
  Challenge- Enter your paper-made take on our LOVE challenge using the link up below. 3 extra entries if you use MOXXIE product! Link directly to your project or project post.
Commenting and Challenge end Feb. 28th
Winner announced Mon. March 2nd.

Thanks for visiting!! Good luck!
xxDaniella

Monday, February 2, 2015

VALENTINE MATCHBOX


Happy Monday!

This month Tombow has a great challenge for you!  We are all getting prepared for February 14th!  That special day where we exchange little bits of love with our favorite people.  The challenge is easy, make something for Valentine's Day.  It could be a card, layout, a gift or whatever your crafty heart wants!  The challenge starts today, February 2nd, and ends February 15th at 11:59PM EST.  You have 2 whole weeks to make this project and link it.  Tell your friends to join the challenge too and spread the love!
The winner will be picked randomly and that person will WIN Tombow Xtreme Permanent Adhesive, Tombow Adhesive Dots and a Dual Brush Pens Bright Set!

I altered a match box for my Valentine.
I started with a matchbox and took it apart.  I traced the pieces on to Moxxie patterned paper.

  I adhered the paper with Stamp Runner Dot Pattern Adhesive and Mono Multi Liquid Glue.   Adding the paper to the box really reinforces it.  I used the Stamp Runner on a few spots on the box first.  The Stamp Runner is so awesome because you can use it like a regular glue runner OR use it to stamp adhesive in certain areas!  I then went around the box with the Mono Multi Glue to really stick the paper on.  The Mono Multi glue dries quick and stays flexible which is great when you have to fold the paper, like for this box.

Next I added the 7Gypsies Drawer Pull to the box.


To add the frame and the wood I used the new AWESOME brand new Adhesive Dots.  These adhesive dots are so awesome because they can be used individually (instead of on a roll where you get dots all over the place instead of where you want them) AND they are colored so you can see exactly where they are!!  Love them!


I added some sweet items inside the box.  A calendar page, a tag to write a love note on, a ticket and a heart.  You can add anything you want inside, like candy or a gift.


When it is finished the box is a lovely gift by itself!  Anything you put inside is a bonus!
I added the frame on top but left the bottom unglued so a picture or saying could be inserted in it.


Thank you for visiting!  I can't wait to see all the beautiful work you will add to our challenge!  Good Luck!
xxDaniella