Pages

Monday, November 30, 2015

PRETTY ORNAMENTS!

Hello and thanks so much for visiting!  I have some super easy ornaments to share with you today!  The theme this week for the Tombow blog is Christmas ornaments!  Please check out the blog every day this week to get ornament inspiration!
Daniella Hayes Ornaments 1
I am absolutely in love with them! I've made 20 ornaments so far!!  Here's how:
Daniella Hayes Ornaments 2
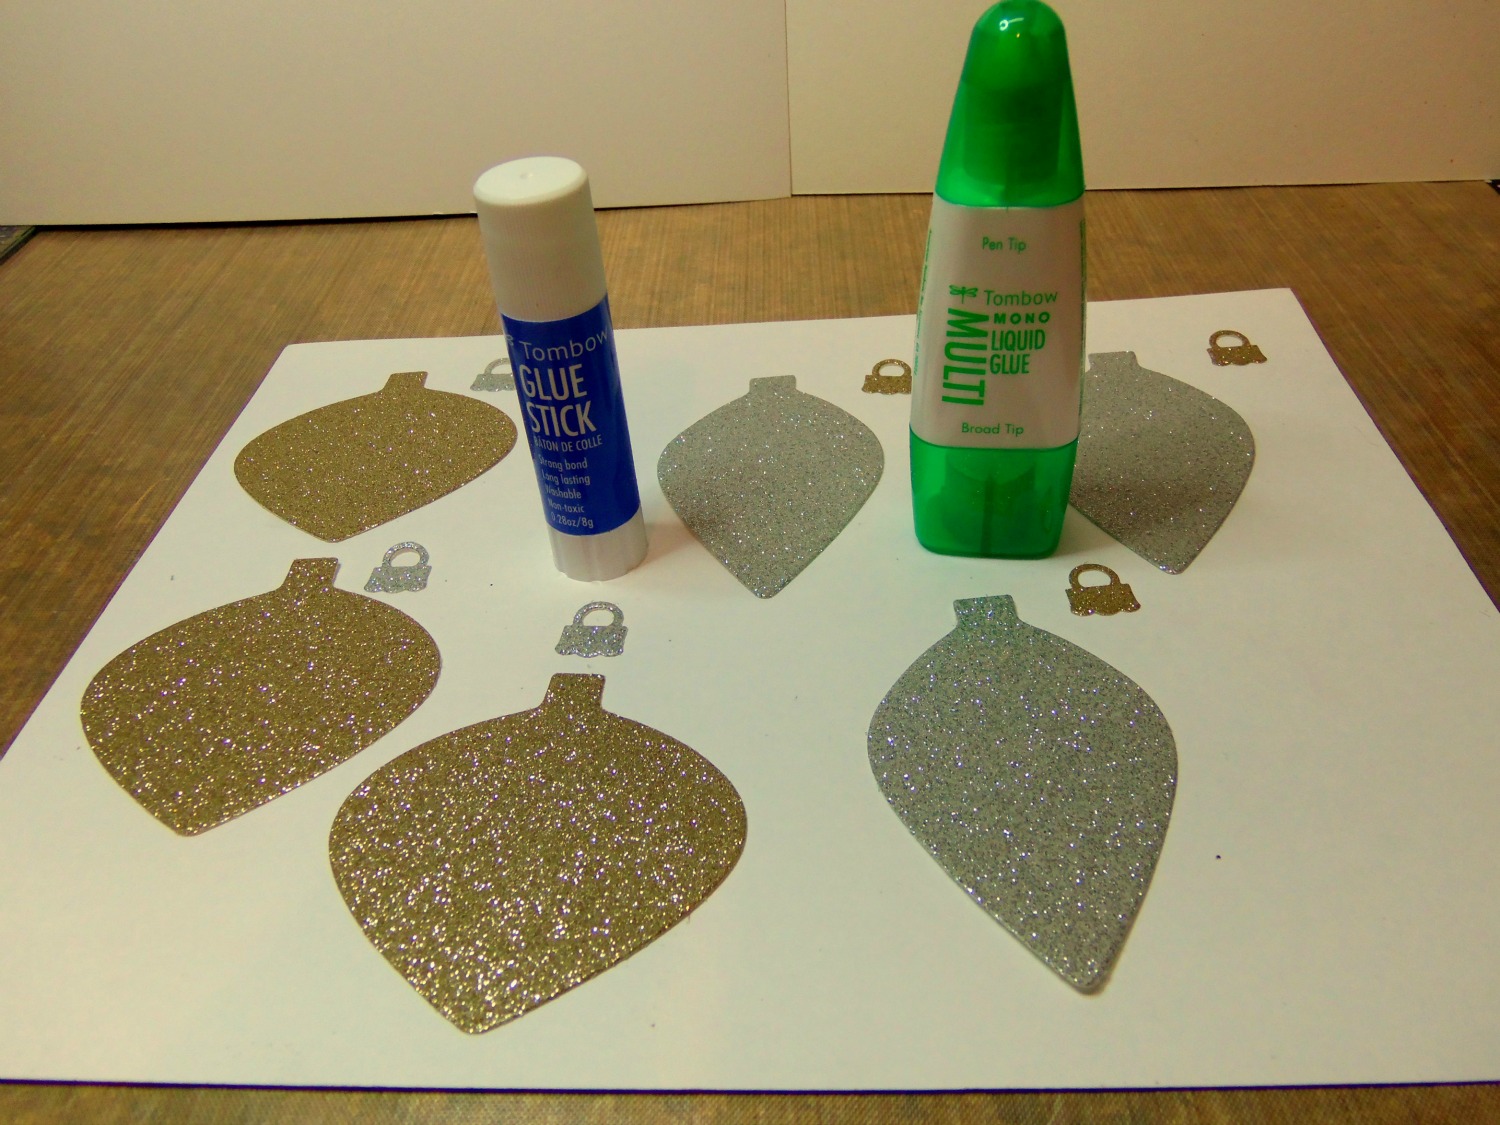
I cut out 11 of the gold ornaments and 9 of the silver ornaments.  You can hand draw the shape, use dies or die cutting machines. There are tons of free ornament templates you can find.  
Daniella Hayes Ornaments 3
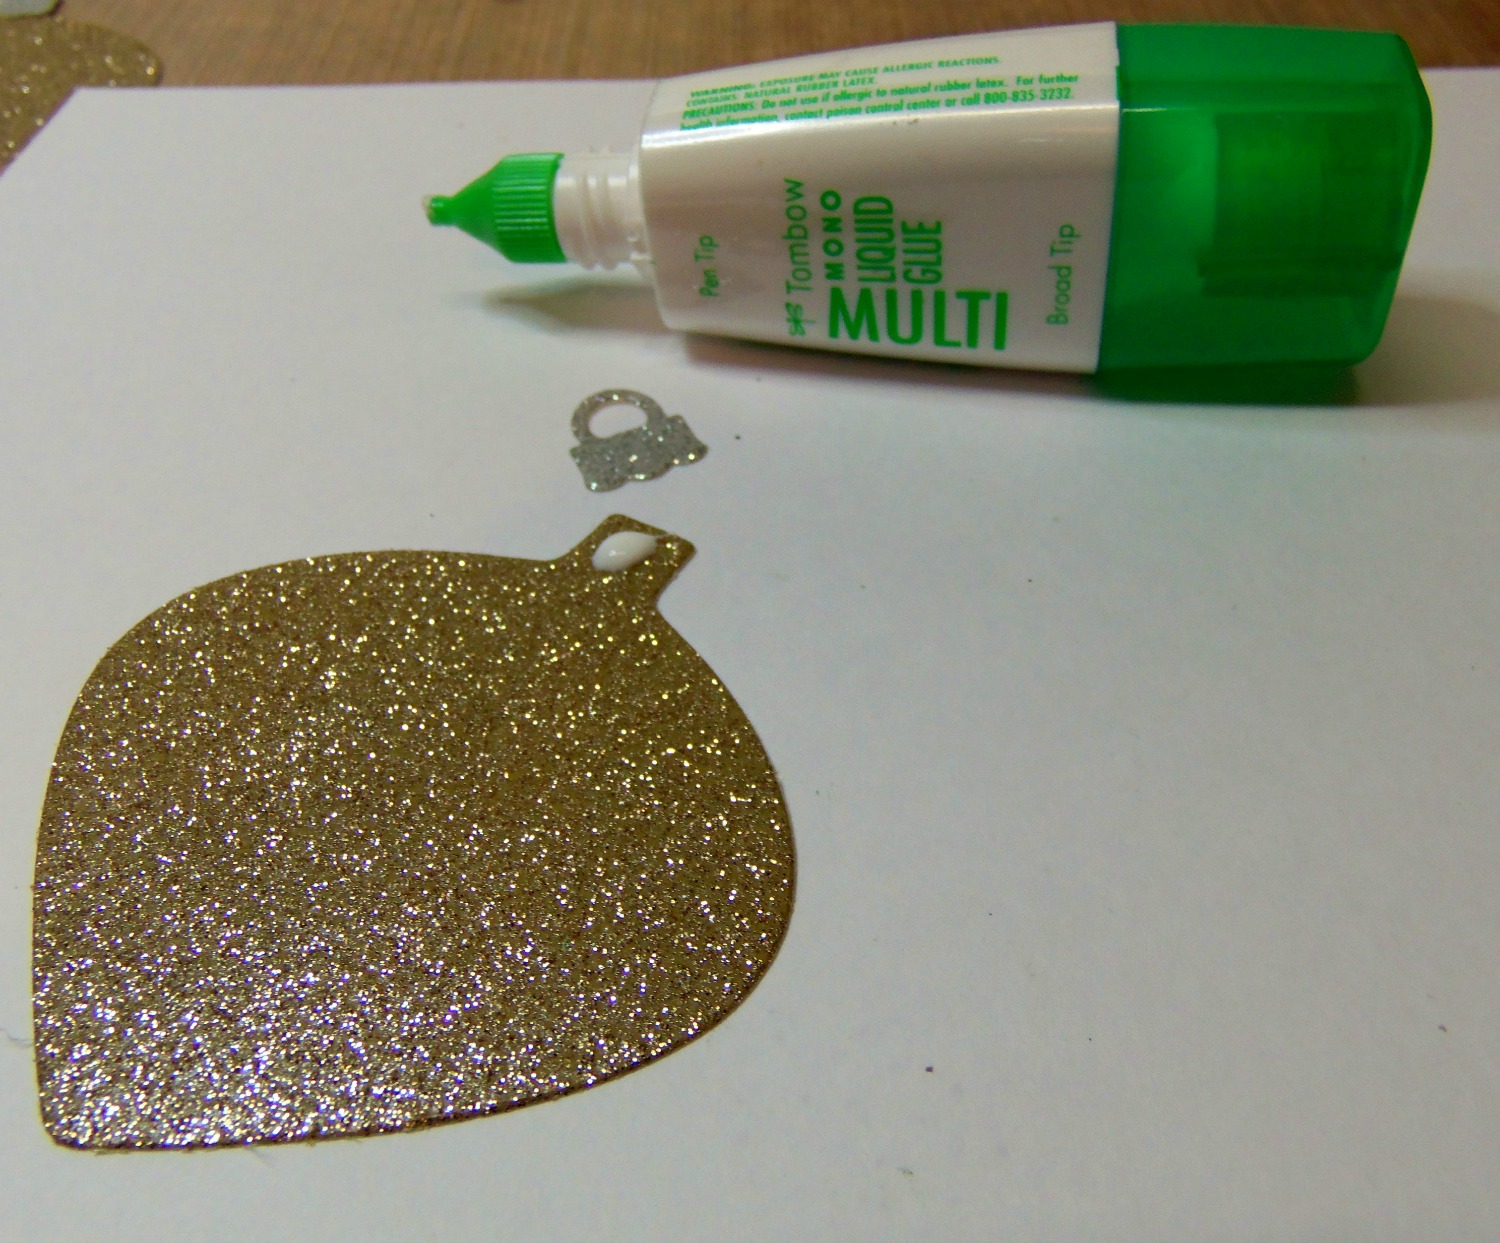
I also cut out the ornament tops.  I attached them to the ornaments with Tombow Mono Multi Glue and let them dry.
Daniella Hayes Ornaments 4
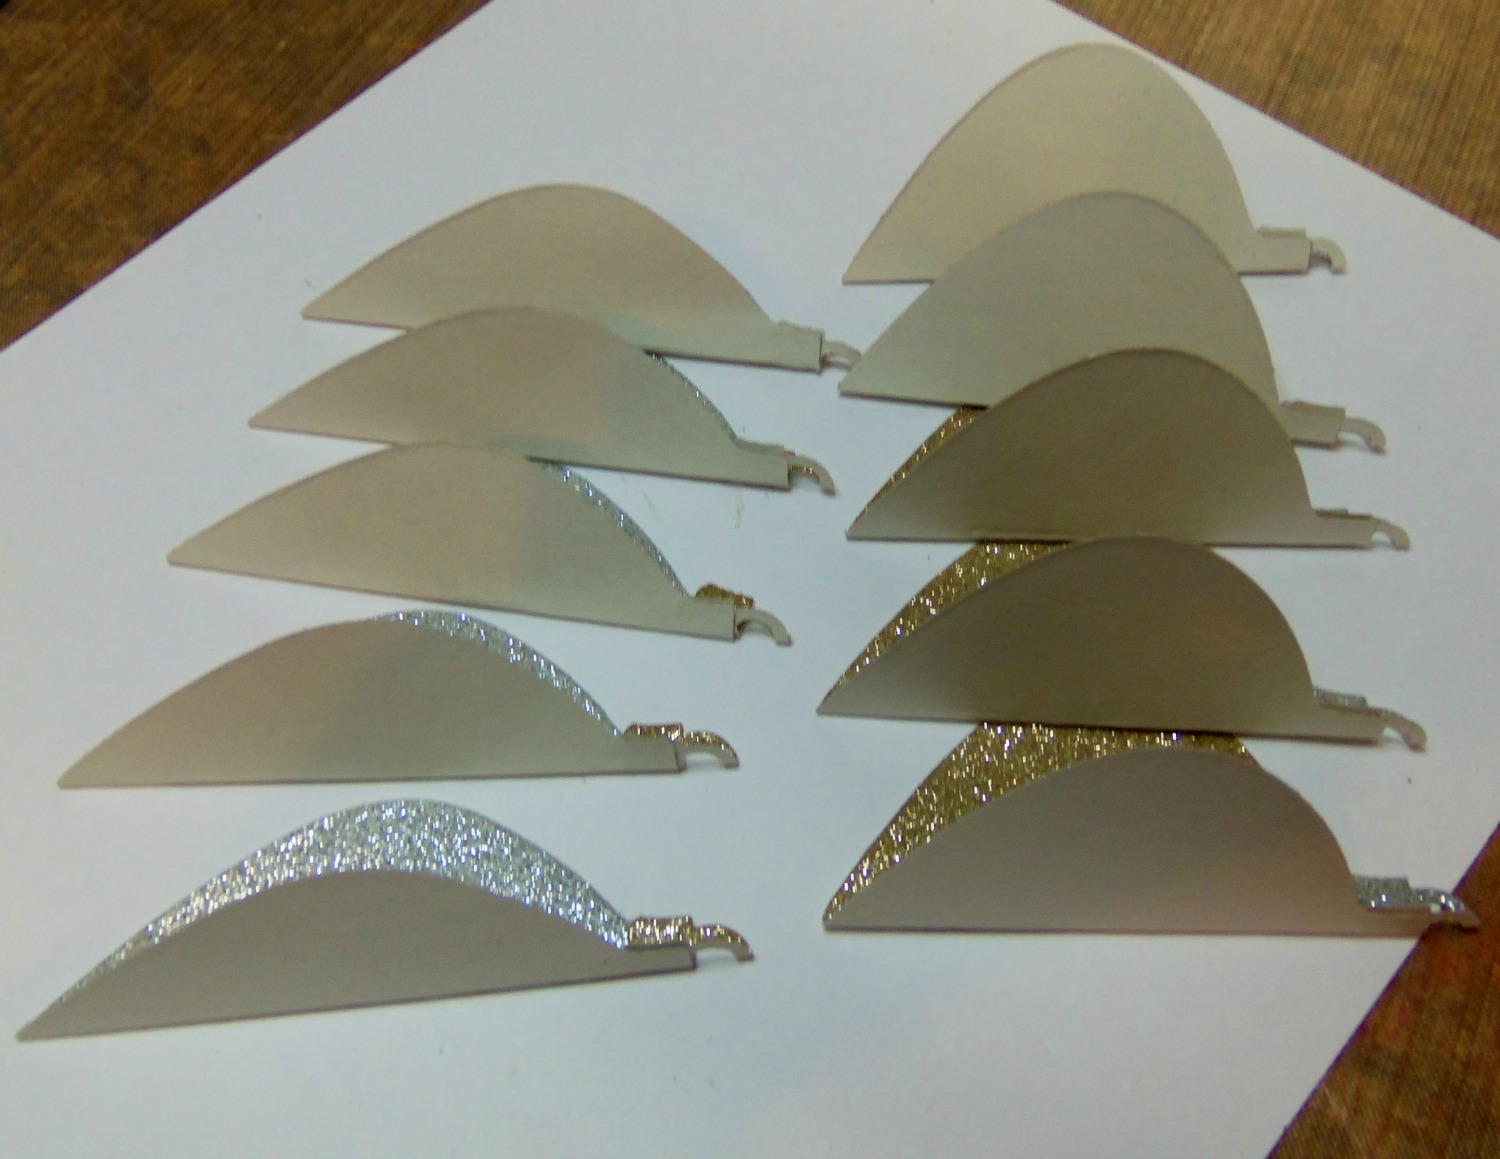
Next, fold the ornaments in half.  The front of the ornament should be inside the fold.
Daniella Hayes Ornaments 5
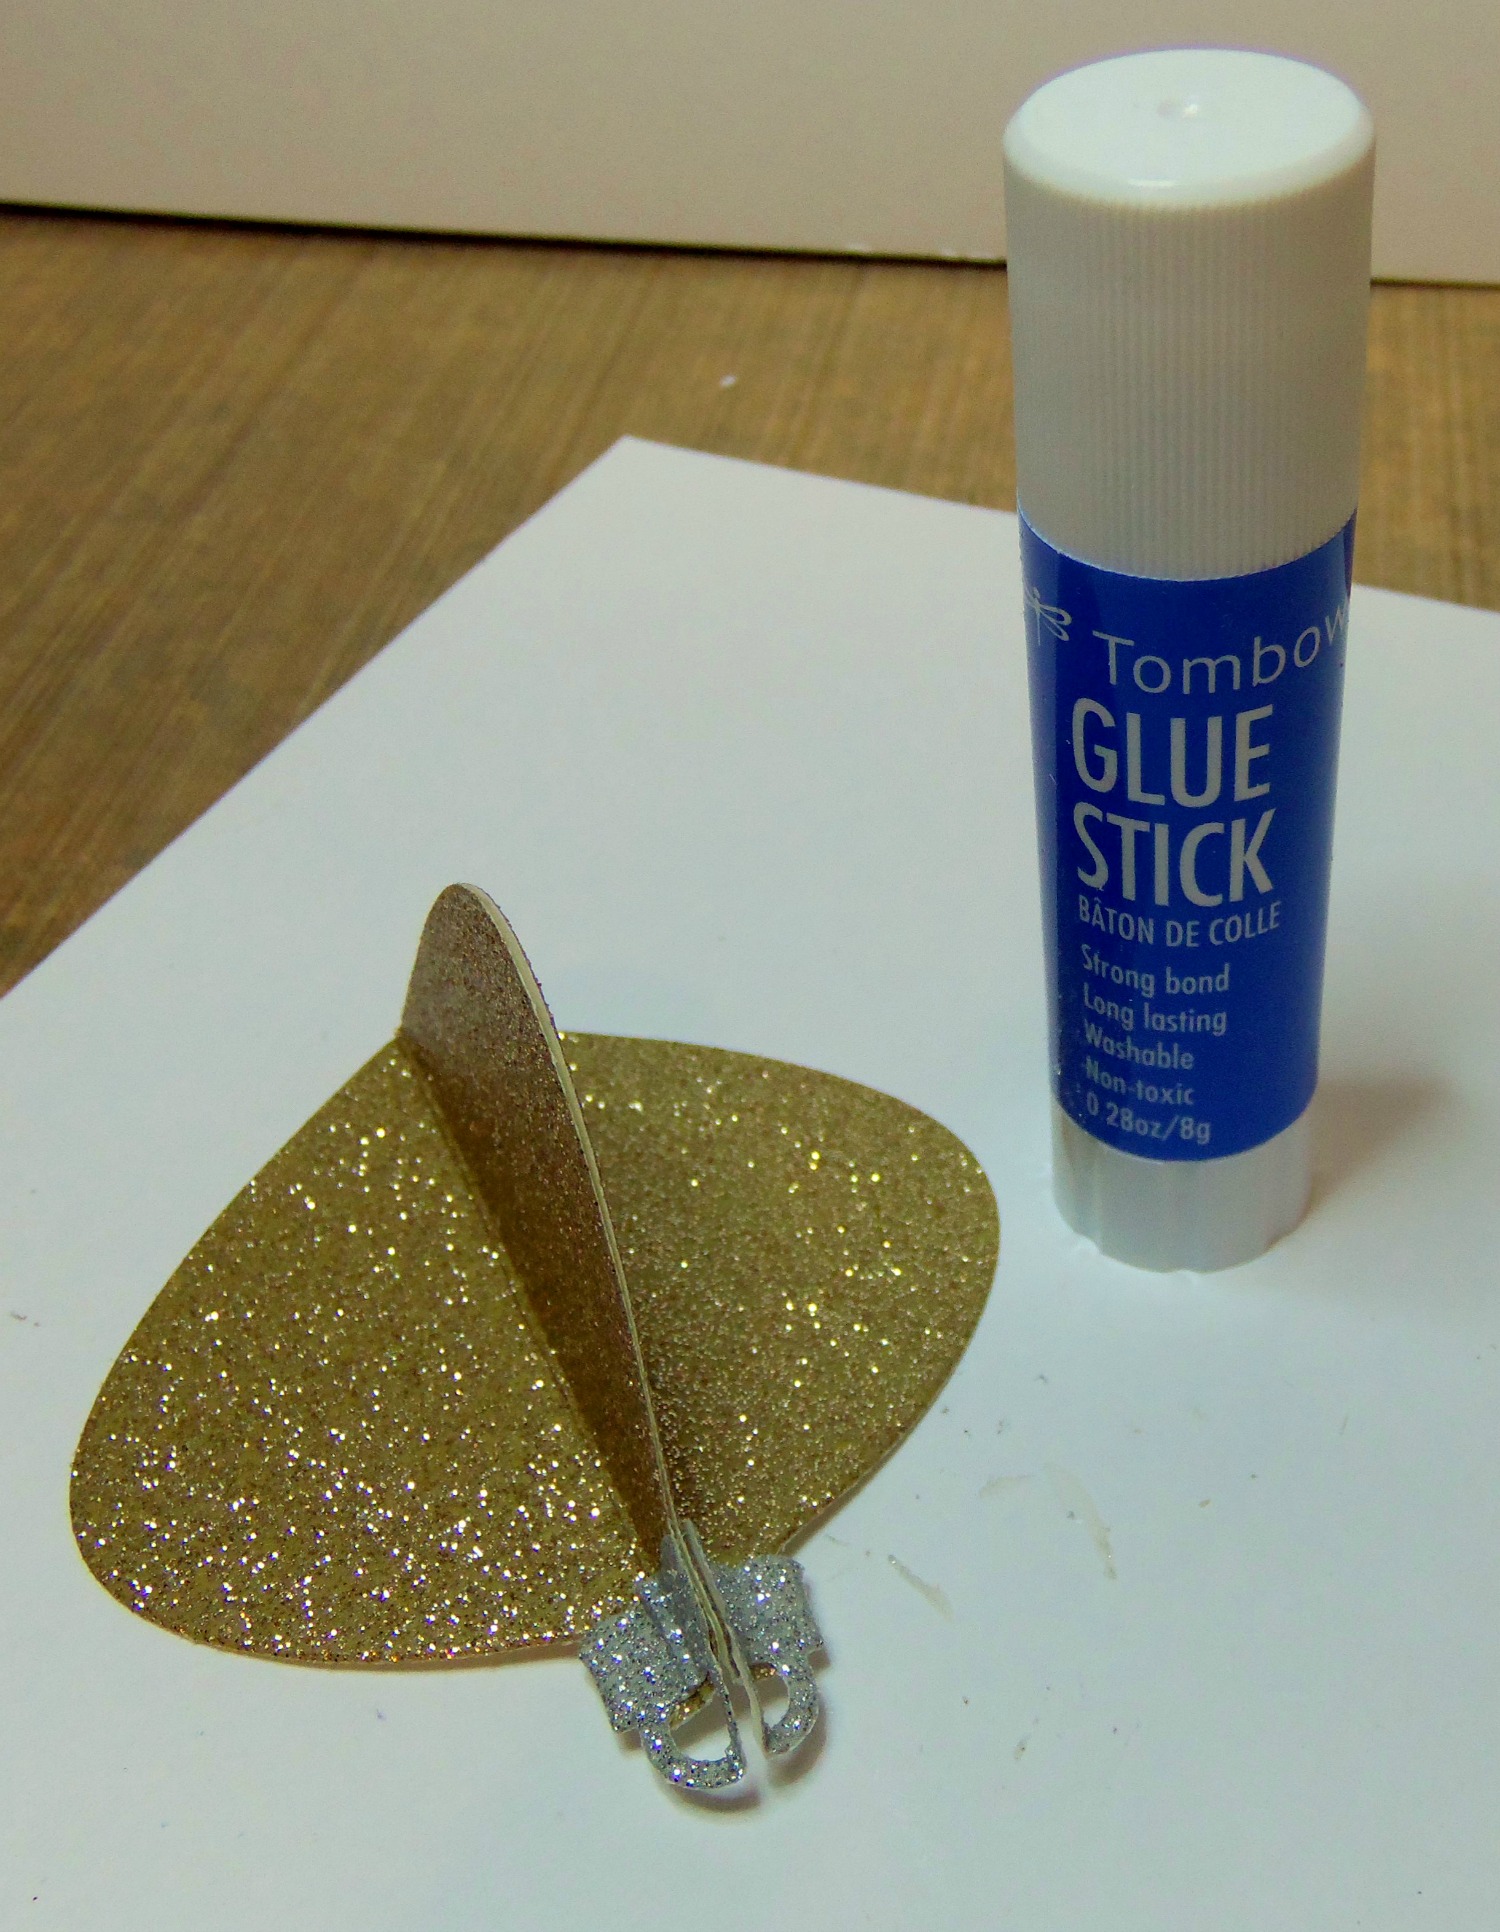
Using the Tombow Mono Glue Stick, I adhered one side of the folded ornament to another as you can see in the picture.  Just apply the Tombow Mono Glue Stick to one of the back folded sides and stick it to another one.  The Tombow Mono Glue Stick is the perfect adhesive for this project!  You can apply it edge to edge and not worry about glue squishing out!  It makes a permanent bond, dries super quick and is clear when dry.  SOOOO super awesome and easy!  Keep gluing your folded ornaments together until you reach the end. That's it!  Now is that fun and easy or what?
Daniella Hayes Ornaments 6
To finish the ornament, add string or ribbon through the top so you can hang it.  I also added a bow to the top using Tombow Adhesive Dots.  I put the Adhesive Dot on the back of the bow and stuck it to the top of the ornament.
And that's it!  Super Easy Ornaments!  How fun would this be as a project for your children to make!  Or you can just make them for your tree to give it a custom look!  They would look so cute hanging off of a gift bag!  The possibilities are endless!!
Thank you so much for visiting!  I hope you enjoy making your own ornaments!!
xxDaniella

Monday, November 23, 2015

THANKFUL WEEK WITH TOMBOW USA!

Hello Friends and thank you for visiting!  In honor of Thanksgiving, the Tombow Design is celebrating with Thankful Week on the Tombow Blog!  The Design Team will be showing projects that express how thankful we are, and that show our gratitude.  
Did you know that November is Gratitude month?  For the past 5 years, I have made a gratitude journal every November.  It is something I wish I could remember to do every day, not just in November. According to National Day Calendar, “Research has shown that gratitude can enhance our moods, decrease stress and drastically improve our overall level of health and well being. On average, grateful people tend to have fewer stress related illnesses and experience less depression and lowered blood pressure, they are more physically fit, they are happier, have a higher income, more satisfying personal and professional relationships and will be better liked.”  
Daniella Hayes Gratitude Cover
This little journal is only 3 1/2" x 2 1/2".  Just big enough to write one or two words about what you are thankful for.
Daniella Hayes Gratitude 1
I cut some cardstock for my book and took out my Tombow Dual Brush Pens and a Gelli Plate.
Daniella Hayes Gratitude 2
By swiping the markers across the Gelli Plate and spritzing it with water I was able to make beautiful watercolor prints on my paper! You could also do this with your Tombow Blending Palette.
Daniella Hayes Gratitude 3
They are soooo pretty!!  Remember to do this on both sides of the paper.
7
Then I used my Dual Brush Pen, brush end, to ink up some stamps and randomly stamped on the pages.
Daniella Hayes Gratitude Pages
After I made the pages into a book, I numbered each page and every day I write 1 thing I am grateful for.  I used my Tombow Dual Brush Pen again to write with.  The pages are wrinkled and warped from the water, but it gives it more charm I think *although it made my pretty lettering a bit wobbley*.
Daniella Hayes Gratitude Cover
I added some seam binding to close the book, and a little label with the date on it.  I adhered the label with Tombow Mono Multi Liquid Glue.
I hope I have inspired you to make a project about things you are thankful for!  And keep visiting all week to see what the rest of the Design Team is thankful for!
xxDaniella